The Complete Henna Aftercare Guide: Make It Last 14+ Days
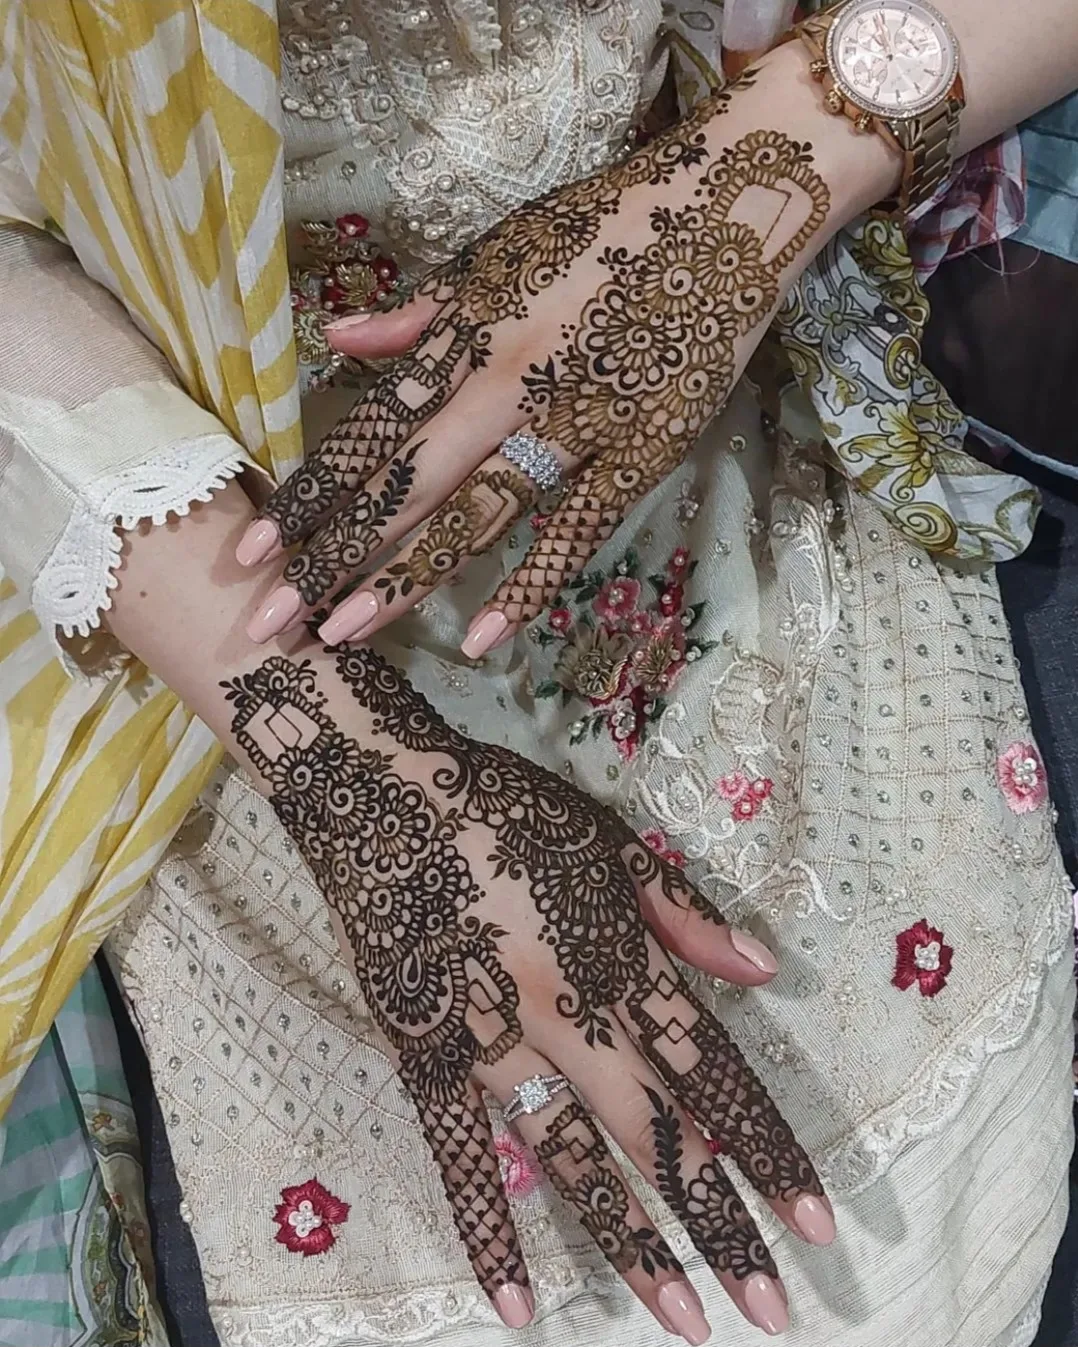
Great henna aftercare follows four phases — paste dwell time (6–8+ hours), removal (no water), the first 24 hours (no soap, no chlorine, stay warm), and the next 7 days (moisturise, protect, and avoid exfoliation). Follow all four and you'll reliably get 10–14+ days of beautiful colour. After 13+ years applying henna across Calgary, I can tell you that aftercare — not the artist — is what most often decides whether a stain is stunning or disappointing.
This is the guide I wish every client had before their paste even came off. It's long on purpose: it's meant to be the one page you bookmark and return to, whether you're a bride protecting wedding-week mehndi or just want your Eid henna to last through both days. Let's go phase by phase.
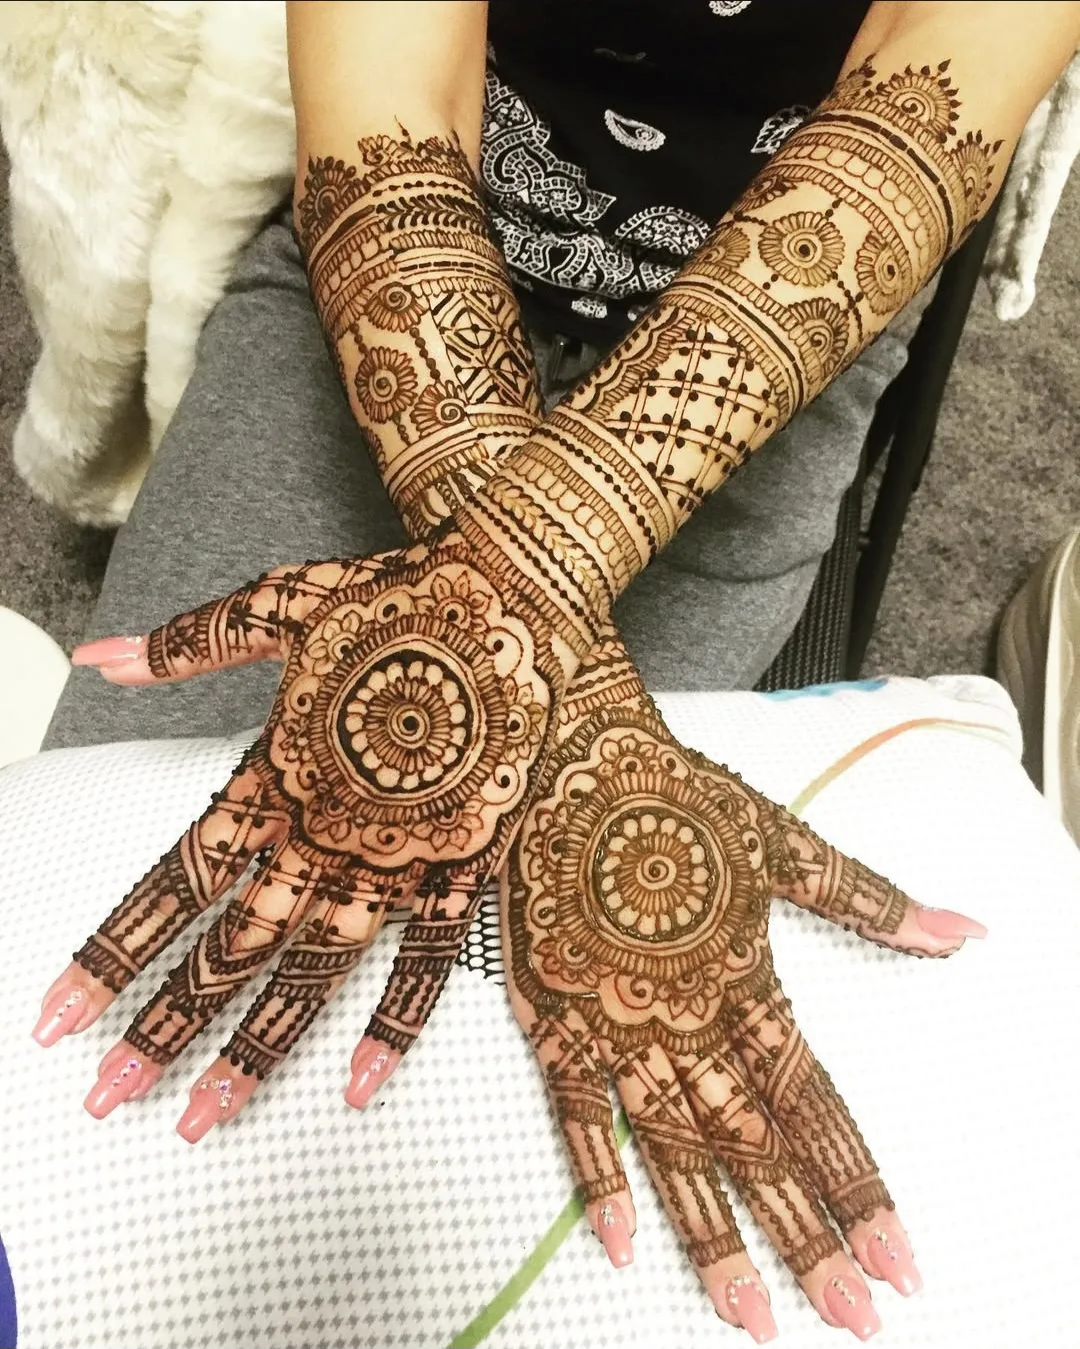
Why does aftercare matter more than the henna itself?
Aftercare is the single most controllable factor in how dark and how long your stain lasts, because the colour develops on your skin over hours and days — not in the cone. The dye is lawsone, the molecule in henna leaves, and it bonds with the keratin protein in your skin through a slow chemical reaction that keeps working long after the design is "done."
That single fact reframes everything: the artist sets the design and the dye in motion, but you finish the job. Two people can get identical work from the same cone on the same day and end up with completely different results based purely on what they did in the hours that followed. The good news is that none of it is complicated — it's just a sequence, and this guide walks you through every step.
Phase 1: While the paste is on (hours 0–8)
The first phase is about patience and warmth, because every extra hour the paste stays in contact with warm skin means more dye transfers. This is where the foundation of your colour is laid, and rushing it is the most common mistake I see.
Here's what to do while the paste is still on:
- Don't disturb it. Let the paste set undisturbed for the first hour — no touching, no testing.
- Keep warm. Gentle body heat drives the dye reaction; a warm room, a blanket, or simply staying cozy all help.
- Avoid water completely. Not a drop until the paste comes off.
- Optional sealing. A light brush of sugar-lemon mixture once the paste has set helps it cling longer, extending dwell time. Go light — too much makes it gummy and can smudge fine work.
- Sleeping in it. For overnight applications, wrap loosely in cotton or medical tape to keep the paste in place without crushing the design.
How long is long enough? Aim for at least 6–8 hours, and overnight for bridal or anywhere you want maximum depth. If you remember only one thing from this entire guide, let it be this: leave the paste on longer than you think you need to.
Phase 2: Removal — why no water?
Removal is the moment most stains are accidentally sabotaged, because the instinct is to rinse — and rinsing at this stage is the worst thing you can do. The stain is still young and water-soluble at the surface, so washing it off literally washes colour away.
Instead, remove the paste dry:
- Scrape, don't wash. Use the edge of a butter knife, a credit card, or your thumbnail to flake off the dried paste.
- Seal immediately. As soon as the paste is off, rub in olive or coconut oil to lock in the stain and protect it from the air and water to come.
- Cover with cotton. If you can, wrap or glove the area in clean cotton — avoid synthetic fabrics, which can rub the colour.
The paste coming off reveals a bright orange stain. Don't panic — that's exactly right. It will deepen dramatically over the next day or two.
Phase 3: The critical first 24 hours
The 24 hours after removal decide your final colour, because the stain is still oxidising from orange toward its deep reddish-brown peak and is highly vulnerable to anything that strips or dries the skin. Protect it now and you'll be rewarded; neglect it and no amount of later care will bring the colour back.
Do:
- Apply olive or coconut oil before any water exposure
- Wear gloves for dishes and wet chores
- Sleep with clean cotton socks or gloves over your hands
- Stay warm — gentle heat keeps the reaction going
- Skip the gym; sweat fades a fresh stain
Don't:
- Use hand sanitiser — alcohol is brutal on a young stain
- Wash with soap or shampoo on the design
- Touch hot water; lukewarm only, and only after 24 hours
- Use any exfoliating product
- Go near chlorine — pools and hot tubs are off-limits
This is the phase that most often decides whether your stain reaches its full potential or fades early.
Phase 4: Days 2–14 (the maintenance phase)
Once you're past the first day, aftercare shifts from protection to preservation, because the colour is set but your skin is constantly renewing itself and shedding the stained surface cells. The slower and gentler that shedding, the longer your design lingers.
Through the second week:
- Moisturise daily, but avoid citrus oils and AHA/BHA acids that speed up exfoliation
- Oil before water. Reapply olive or coconut oil before every hand-wash, shower, or dishwashing session
- No scrubbing. Skip loofahs, exfoliating washes, and dry brushing over the design
- Mind the sun. Protected exposure is fine; prolonged direct sun can dull the colour
- Be patient with the fade. A graceful fade is the sign of a well-cared-for stain
What does a normal henna fade look like, day by day?
Knowing the normal arc of a stain saves a lot of needless worry, because henna is supposed to change colour over its life — a shifting stain is a healthy one, not a failing one. Once you know the rhythm, you can tell a graceful fade from an actual problem.
Here's the timeline I describe to clients:
- Day 0 (paste off): bright pumpkin orange — don't panic, this is correct
- Day 1: orange deepening toward brown
- Day 2: peak colour — rich reddish-brown, sometimes nearly maroon on palms
- Days 3–5: the colour holds, then begins to soften
- Days 6–9: gradual lightening, fastest on fingertips and palms where you use your hands most
- Days 10–14+: a soft amber ghost before it clears completely
If your stain is following roughly this path, your aftercare is working. If it skipped the orange stage and went straight to black, that's not henna — that's a warning sign, which I cover below.
How long does henna last with proper aftercare?
With all four phases done well, henna lasts noticeably longer than most people expect — and the number depends heavily on where the design sits. As I explain in detail in how long does henna last, thicker skin holds colour far longer than thin skin.
Realistic, well-cared-for timelines:
- Palms: 14–21 days
- Backs of the hands: 10–14 days
- Forearms: 7–10 days
- Feet: 7–14 days
These are the upper ranges, and they're achievable — but only with the aftercare above. Skip the first 24 hours and you can lop several days off every one of those figures.
What are the most common aftercare mistakes Calgary clients make?
Most faded stains trace back to a short list of avoidable habits, because everyday life in a cold, dry climate is quietly working against your colour. Recognising these is half the battle.
The repeat offenders I see:
- Washing the hands within the first 24 hours
- Reaching for hand sanitiser at work (very common for nurses, teachers, and parents)
- Sweating it out at the gym while the stain is young
- Using lotion with citrus oils or exfoliating acids
- Hitting a pool or hot tub within 48 hours
- Scrubbing in the shower
Calgary's dry prairie air and constant indoor heating make skin shed faster, so my local clients — and those out in Airdrie, Cochrane, Chestermere, and beyond — benefit from being a little more diligent with moisturising than someone in a humid climate would need to be.
Bridal-specific aftercare: when the stain MUST hold
Bridal aftercare is aftercare with the stakes turned up, because the colour has to peak on an exact day and survive a whirlwind of getting-ready activity. The principles are identical to everything above — they're just non-negotiable, and they pair with smart timing.
For brides, layer these on top of the four phases:
- Apply two days before the wedding so the stain peaks for photos (see how to get the darkest bridal henna stain)
- Stay out of water completely for the first 24 hours — delegate the dishes
- Cotton gloves overnight, every night until the wedding
- Coordinate with your makeup artist on citrus-free, acid-free moisturisers
- Plan for wedding-day touch-ups on any spots that wore early
Henna's role in weddings is ancient — the Natural History Museum traces bridal and celebratory henna back through the Mughal era and beyond — and the aftercare brides did centuries ago is, remarkably, the same we rely on today.
Event and party henna aftercare (lighter expectations)
For parties, Eid, and casual events, you can relax the rules a little, because you usually only need the stain to look good for a few days rather than weeks. The same four phases apply — they just matter less critically.
In practice that means:
- You often only need 5–7 days of colour
- The first 24 hours still count, but a missed step isn't a wedding-photo disaster
- Standard rules (no early water, oil before washing) still give you the best result
If you're booking henna for a celebration, my Eid henna guide covers event-specific timing in more depth.
How do you handle aftercare in specific situations?
Real life doesn't pause for a henna stain, so the trick is adapting the four phases to your routine rather than abandoning them. A few situations come up constantly with my clients.
- Healthcare workers: constant hand sanitiser is the enemy — oil heavily, glove when you can, and accept that hands-based designs fade faster; consider placing key motifs on less-sanitised areas
- Athletes and swimmers: stay out of the pool 48 hours minimum, and oil thoroughly before and after every workout
- Parents of young kids: all that hand-washing fades stains fast, so oil before each wash and keep a small bottle by the sink
- Cold Calgary weather: dry winter air shortens stains, so moisturise more often than you think you need to
How does henna aftercare differ from Jagua?
Jagua, a fruit-based body stain that's growing in popularity, needs a slightly different routine, because its chemistry and timeline aren't the same as henna's. I cover the full comparison in henna vs Jagua, but here's the aftercare-relevant difference.
- Henna: scrape off dry, no water, peaks around 48 hours
- Jagua: typically washed off (it's a gel), develops faster — often within 24 hours
- Both: avoid soap and exfoliants for about a week, and seal with oil before water
If you ever wear both together — a popular modern look — follow the gentler henna timeline for the whole design to be safe.
When should you contact your henna artist about aftercare?
Most aftercare questions are routine, but a few signs are worth a message to your artist or a doctor, because they can indicate something beyond a normal stain. Trust your instincts here.
Reach out if you see:
- Red bumps, itching, or blistering — a normal natural-henna stain never does this, and these are classic signs of a reaction to PPD-based "black henna," which the FDA warns can cause serious skin injury
- No stain at all after 48 hours — something interfered with the dye
- Patchy, blotchy colour — usually uneven removal or skin oils, and worth discussing for next time
For anything that looks like an allergic or chemical reaction, stop, rinse gently, and see a doctor — natural henna should never cause it, and a true reaction needs medical attention.
Your henna aftercare cheat sheet
If you remember nothing else, remember this table, because it distils the entire four-phase routine into the handful of habits that actually move the needle. Screenshot it and keep it handy for the first week.
| Phase | Timeframe | The one thing that matters most |
|---|---|---|
| 1. Paste on | Hours 0–8 | Leave it on as long as possible (overnight is best); stay warm |
| 2. Removal | When dry | Scrape it off — never wash it off — then oil immediately |
| 3. First 24 hours | Hours 0–24 after removal | No water, no soap, no sanitiser; oil before any water; stay warm |
| 4. Maintenance | Days 2–14 | Moisturise daily, oil before every wash, no scrubbing or exfoliating |
The pattern behind every row is the same: keep the stain warm and dry early, then keep your skin hydrated and un-exfoliated late. Do that, and your henna will reward you with colour that lasts well into a second week — and on the palms, sometimes a third.
A final note for my Calgary clients specifically: our long, dry winters and constant indoor heat work against every stain, so lean harder on moisturising from November through March than you would in summer. The same design that sails past two weeks in July may need that extra diligence to hold ten days in January.
Book with Henna by Arooj
Want professional bridal or event henna in Calgary that's mixed fresh, applied with care, and backed by aftercare guidance that actually works? Explore my private henna appointments for a quiet one-on-one session, or browse bridal henna options. And if you're wondering why your stain turned out differently from a friend's, read why some people get darker henna stains than others.
Frequently asked questions
How long should I leave henna paste on for the darkest stain?
Leave the paste on at least 6–8 hours — overnight is ideal, especially for bridal work. The longer the paste stays in warm contact with your skin, the more dye transfers and the deeper and longer-lasting the final stain. Removing it after just one or two hours is the most common reason a stain comes out pale.
Can I wash my hands after applying olive oil?
Yes, but gently and not too soon. Wait at least 24 hours after removing the paste before any real water exposure, then always seal the skin with olive or coconut oil before washing. The oil forms a barrier that protects the still-developing stain from soap and water.
Why is my henna stain patchy in some areas?
Patchiness usually comes from uneven removal, skin oils or lotion under the paste, the paste flaking off early in spots, or water hitting part of the design too soon. Applying to clean, lotion-free skin and protecting the whole design evenly for the first 24 hours keeps the colour uniform.
Does using cotton gloves overnight really help?
Yes — it's a genuine bride's trick, not a myth. Clean cotton gloves (or socks over the hands) keep the design warm, prevent smudging against bedsheets, and stop you from unconsciously rubbing or washing the stain in your sleep. Warmth during those first hours measurably helps the colour develop.
What's the best lotion to use during henna aftercare?
A plain, fragrance-free moisturiser or a natural oil like olive or coconut. Avoid anything with citrus oils, alpha-hydroxy or beta-hydroxy acids (AHA/BHA), or exfoliating ingredients — those accelerate skin shedding and lift the stain faster. The goal is to keep skin hydrated, not to resurface it.
Can I do dishes the day after my henna application?
Only with gloves. Hot water and dish soap are two of the fastest ways to fade a young stain, so wear rubber gloves for the first few days, and oil your hands before putting them on. After about a week the stain is set enough that normal washing won't strip it noticeably.
How do I tell if it's a henna allergic reaction or just the stain?
A normal natural-henna stain is flat, painless, and reddish-brown — it doesn't itch, blister, or rise above the skin. Redness, intense itching, bumps, or blistering can signal a reaction, and is especially associated with PPD-laced 'black henna' rather than natural henna. If you see those signs, stop, rinse, and contact a doctor.
Will my henna stain look uneven after a week?
A little, and that's normal. Henna fades as your skin naturally sheds, and high-friction areas like fingertips and palms wear first, so by day seven the design softens unevenly. Regular moisturising and oiling before water exposure keeps the fade gradual and graceful rather than blotchy.
Book your Calgary henna session
Bridal mehndi, party & event henna, and private appointments by Arooj — 100% natural henna, custom freehand designs.
View the service →Related articles
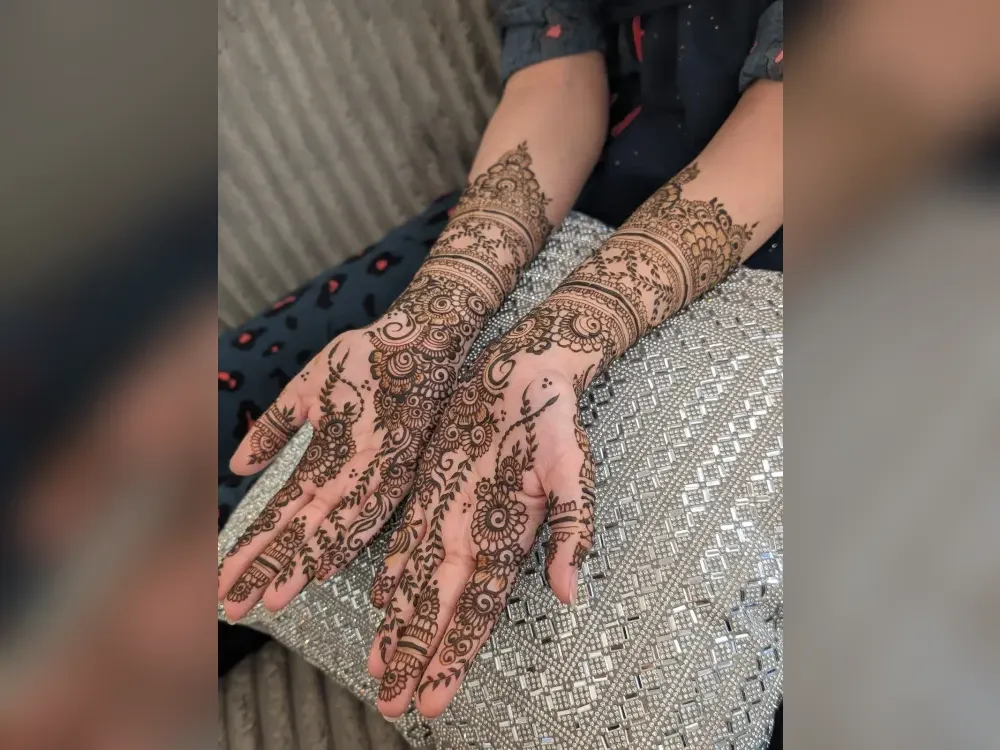
What's Actually in Natural Henna? (Ingredients, Safety, and Why It Matters)
Natural henna paste has four ingredients: henna powder, essential oils, sugar, and water. A Calgary artist explains what's really in the cone — and why chemical 'black henna' is not henna.
Read article →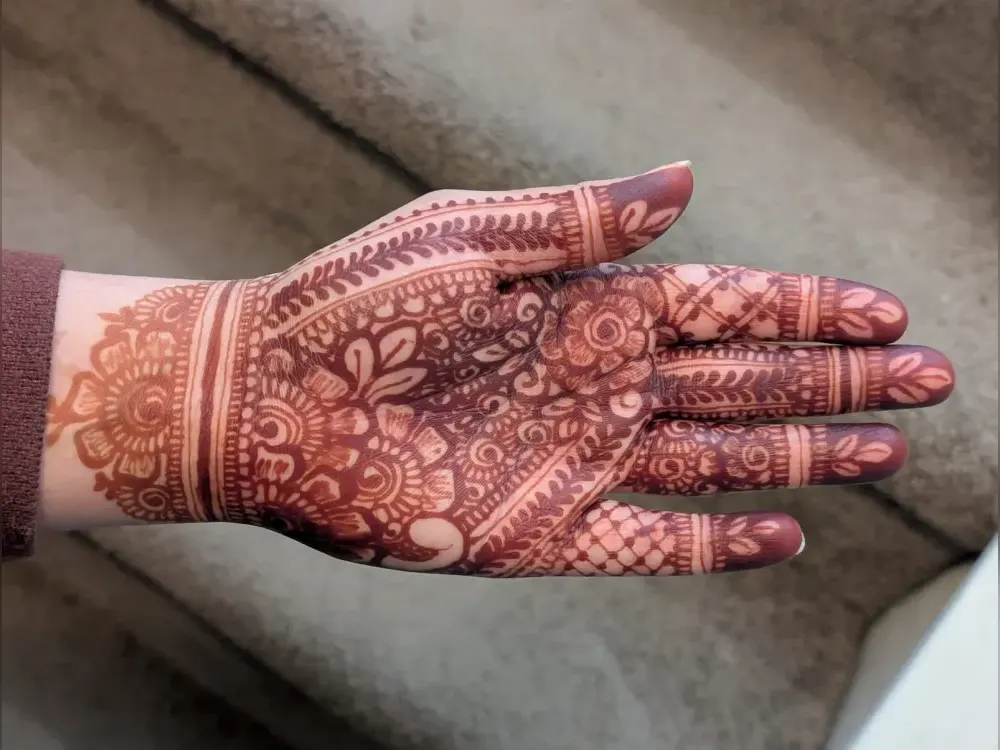
Henna vs Jagua: What's the Difference (and Which Should You Choose)?
Henna stains reddish-brown over 24–48 hours; Jagua stains blue-black within hours. A Calgary artist compares the two natural body arts — and warns why PPD 'black henna' is neither.
Read article →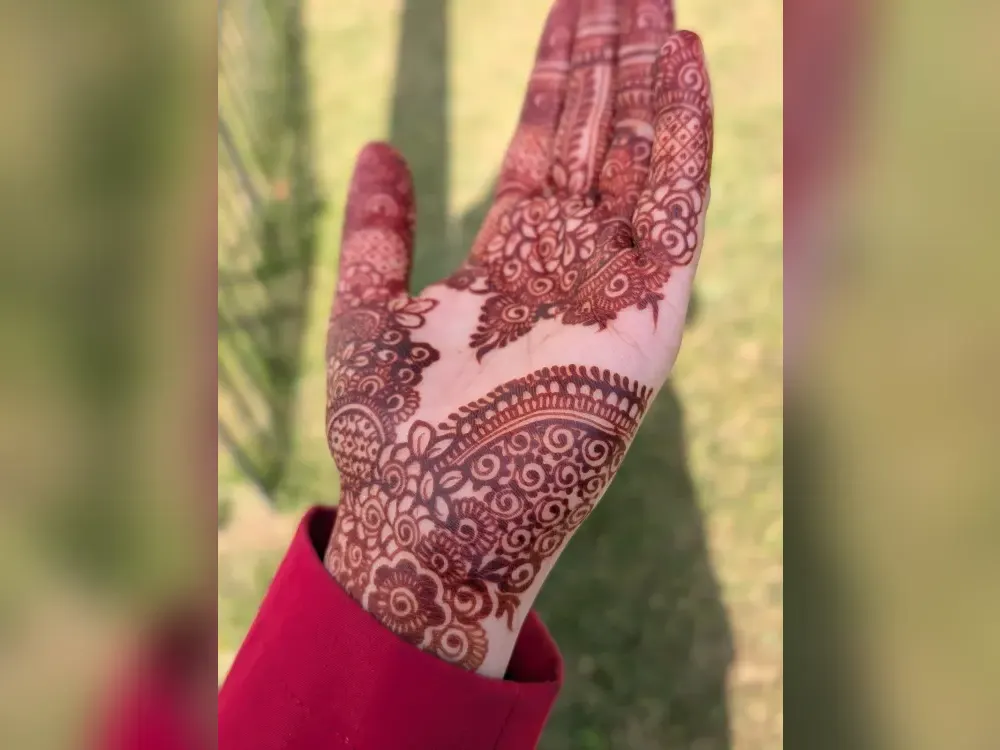
Why Some People Get Darker Henna Stains Than Others
Henna stain depth varies by skin chemistry, keratin density, body temperature, and aftercare — not the henna itself. A Calgary artist explains why your stain differs from your friend's.
Read article →